The Paint Your Own Pottery Process
The Paint Your Own Pottery Process – How It Works | Cromartie Hobbycraft
The Paint Your Own Pottery Process – How It Works
Discover the fun of painting your own pottery – from start to finish.
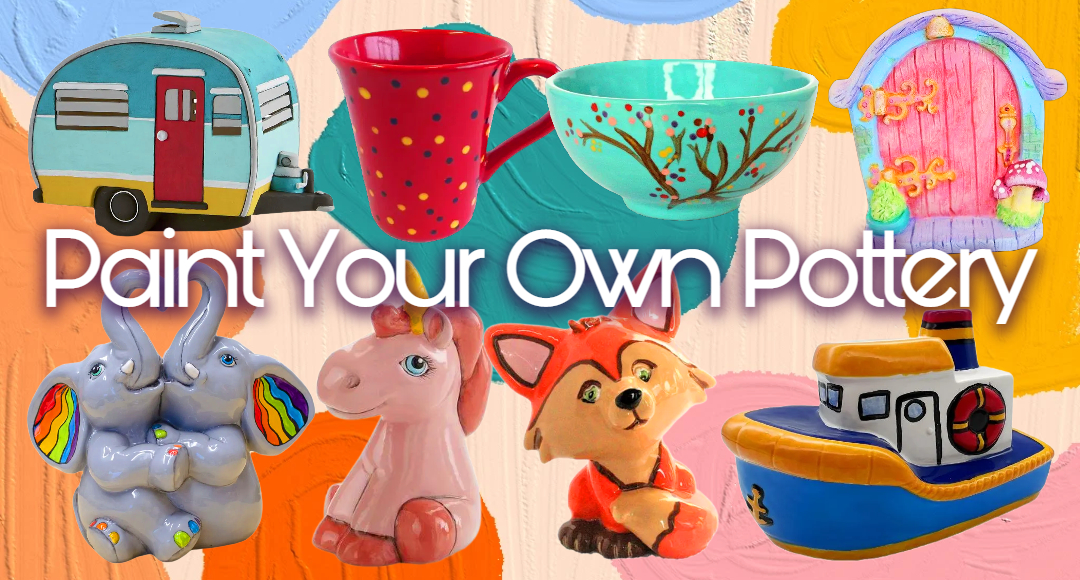
Painting your own pottery is a relaxing, creative and rewarding experience that anyone can enjoy. Whether you’re visiting a local pottery studio, joining a mobile event, or planning your own creative afternoon at home, here’s how the paint your own pottery process works – step by step.
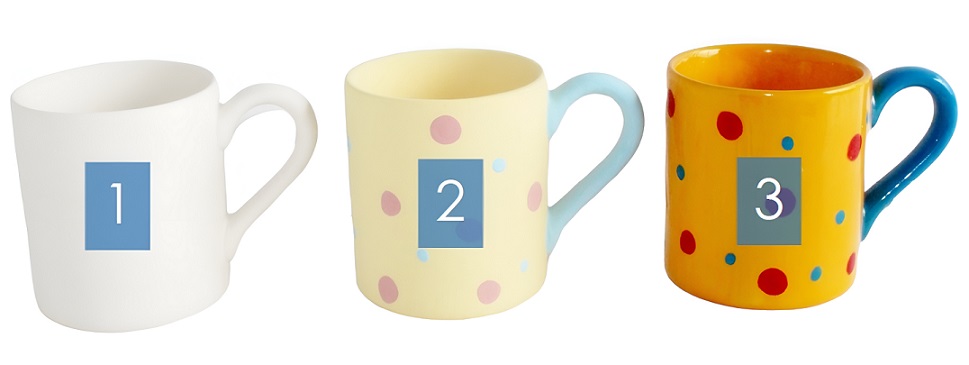
1. Choose Your Pottery Piece
Every masterpiece starts with a blank canvas – and in this case, that’s a piece of ceramic bisque. From mugs and plates to figurines and seasonal shapes, there’s something for everyone.
2. Paint and Decorate
This is where the fun begins! Choose your colours and get creative using underglazes, acrylic paints, foam clay, silk clay, or even glitter paints. You can explore techniques like sponging, stippling, marbling or fine brushwork – there’s no right or wrong way to paint your own pottery.
3. Glazing & Firing
Once your design is complete, your pottery piece is coated with a clear glaze to seal the colour and give it a glossy, durable finish. It’s then fired in a kiln at high temperature, which permanently bonds the glaze and brings your colours to life. Most studios will let you collect your finished piece a few days later, once it’s cooled and ready to take home.
From bisque to finished masterpiece – the glazing and firing process brings your design to life.
Take Home & Enjoy
Your finished creation is now ready to take home, display, or gift to someone special. Every piece is unique – a keepsake full of creativity and colour.